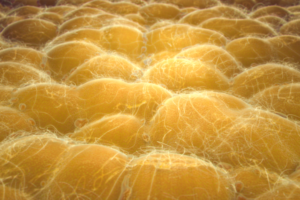
In this article, we want to shed some revealing light on the technical and tiring processes behind the creation of scientifically accurate medical illustrations. We asked Anton, who is our 3D Generalist, to share ‘behind the scenes’’ of his last project where he needed to create a visualization of the fatty tissue.
Before getting into details, let me clarify who a 3D Generalist is and what he/she does. First things first, a 3D generalist is the backbone of any animation studio because it’s they who are carving the animation bit by bit.
Generalists are responsible for modeling, rigging, animation, motion capture, painting, sculpting, and anything else the studio needs to be done at a given time.
Plus, add the knowledge of anatomy that a 3D Generalist should have to qualify for a job at a medical animation studio.
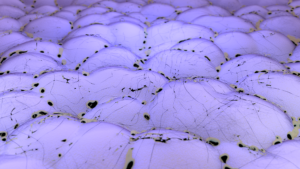
Quite a lot, right? Now, let’s take a look at the end product of these skills combined. Below is the final image representing a custom scientific illustration of fatty tissue. Neat, clean, and accurate — you think, and you are right. But do you know how many stages and drafts this image has gone through to look this perfect? Hard to say but I will try.
Anton starts his work with a reference search where he is looking for 3 types of references: examples of the similar 3D projects (if there were a); microscopic images of the fatty tissues; scientific sketches of the fatty tissue.
Then Anton analyzes the collected references and makes a brief plan.
After that 3D Generalist starts the technical part with:
— Modeling of the objects in ZBrush software
— Resurfacing in Maya
— Texturizing in Substance Painter
— Materials, light, texture, and camera angle in Maya
— Final step of compositing all image renders in Fusion
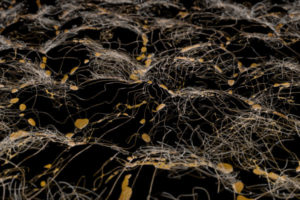
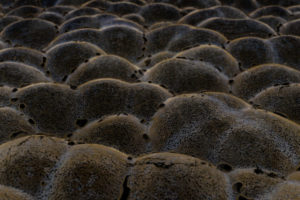
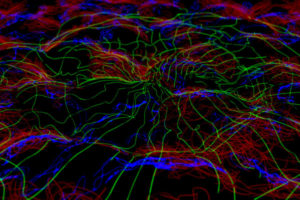
Here is the visual representation of this process:

The post Our 3D Generalist created a custom scientific illustration of fatty tissue. Let’s see appeared first on Nanobot Medical Animation Studio.


