
Illustrating birds is always wonderful. When it’s for a friend, is a bird you love, and when you have specimens to work from, it’s even better.
Pencil roughs
As always, the first step in a natural history illustration is to source your reference material and draw up a pencil sketch. I do this directly onto watercolour paper. Using a Pentel P205 mechanical pencil, I am now working on Fluid 100 hot press paper.
I am lucky enough to have a lot of specimens in the freezer. This sounds macarbre, but people know what I do for a living. If they see roadkill, or find a bird the cat brought in, they’ll often pass it on to me. I’ve recently taken a taxidermy course so I can store these speciemens as skins, rather than alongisde the ice cream in the freezer… For more on this, have a look at my youtube video “Birds, bugs, and bodeis in the Freezer”.
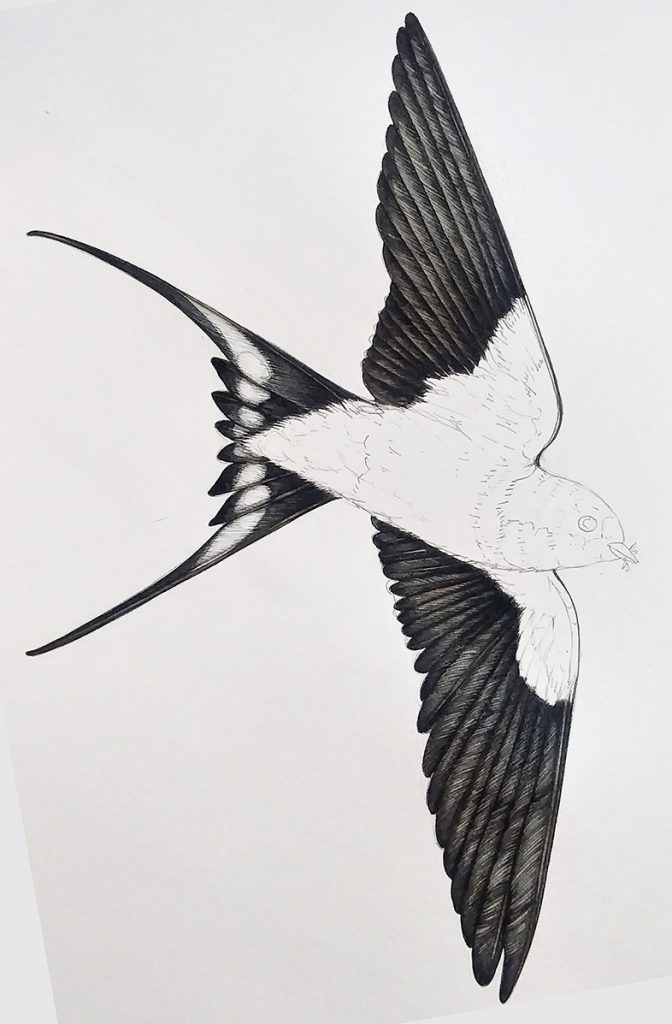
In fact, I drew the barn swallow twice. Once from below, and once from above.
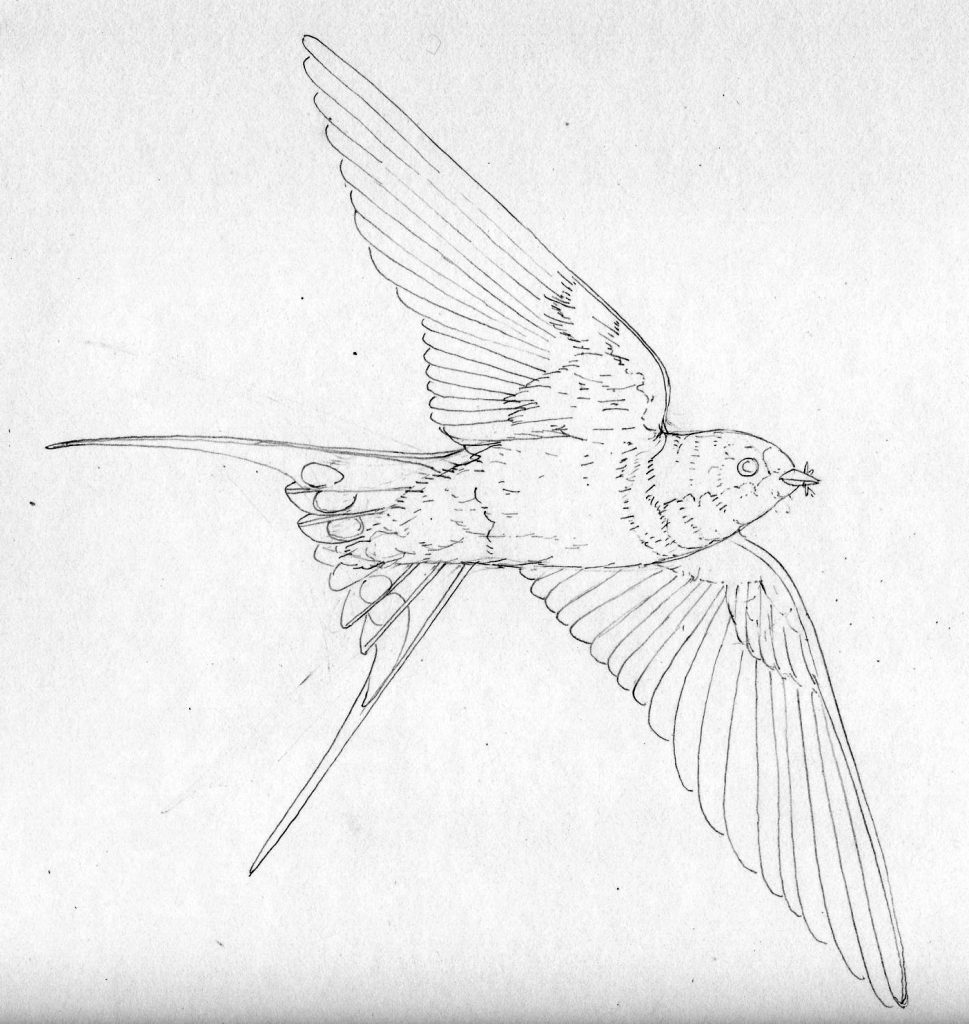
Swallow pencil rough, from below.
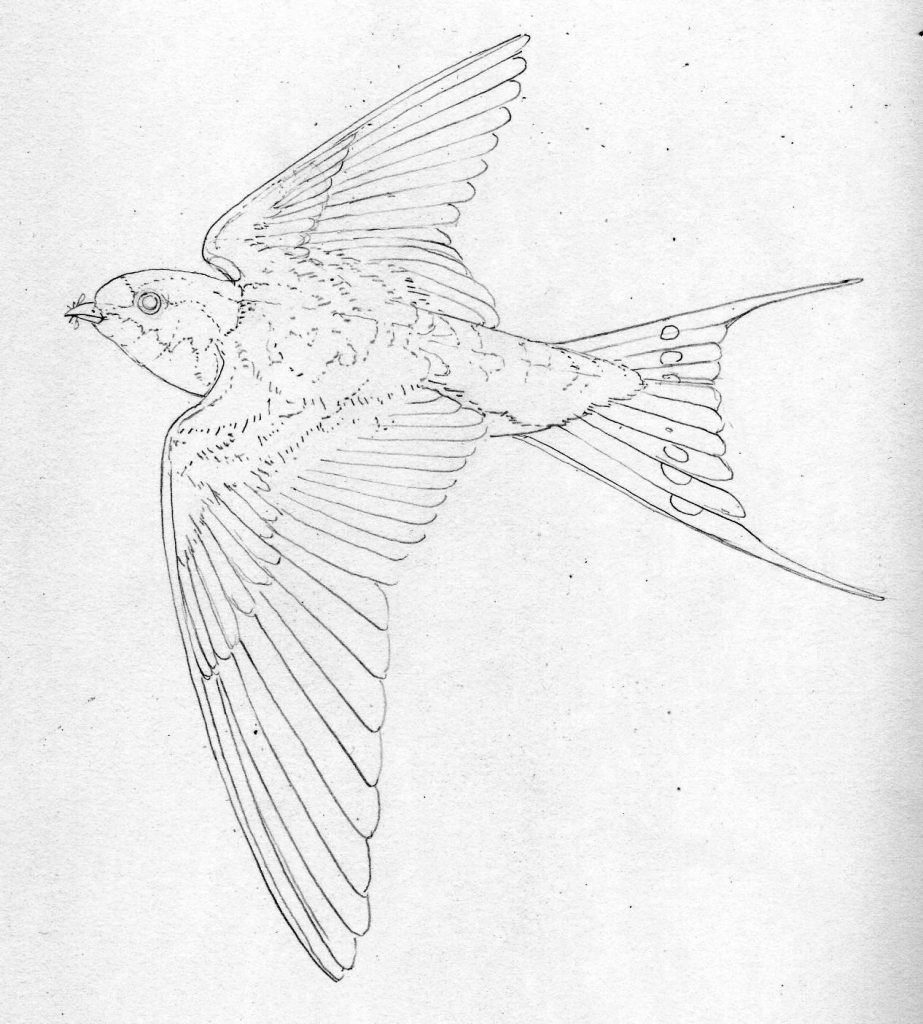
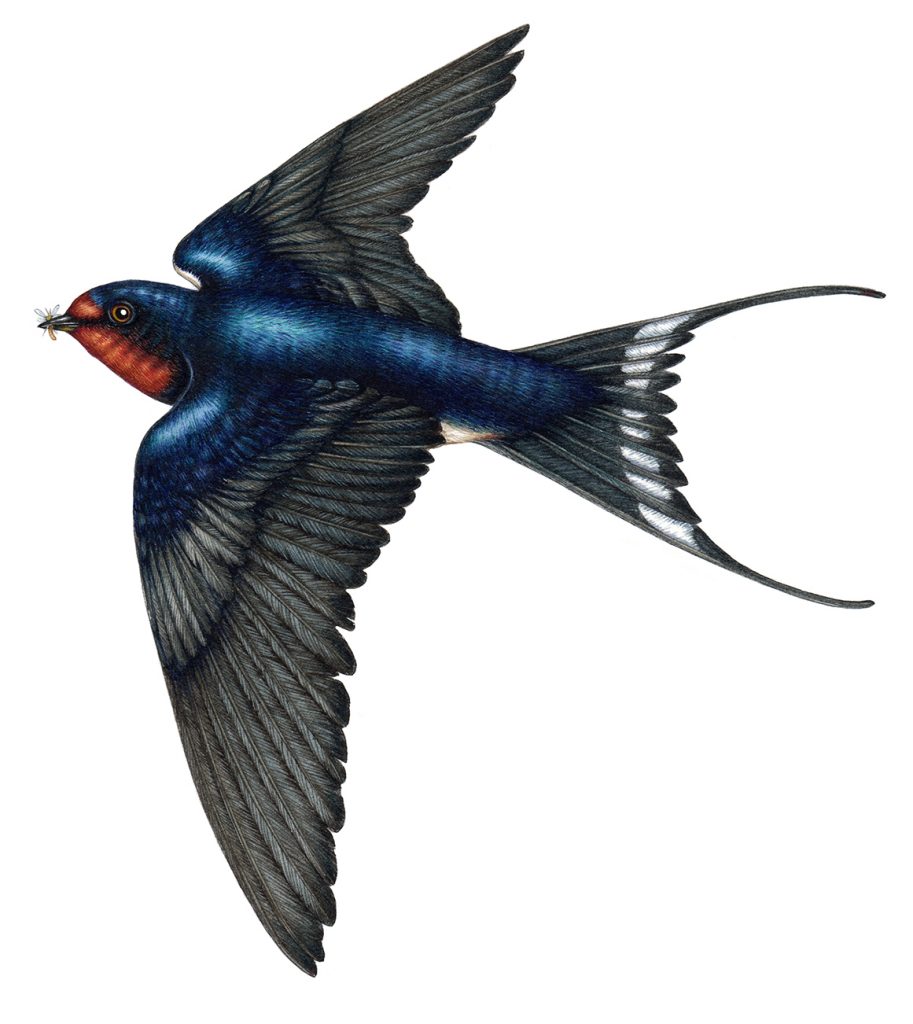
Swallow pencil rough, from above.
Step 1: Wing and tail feathers
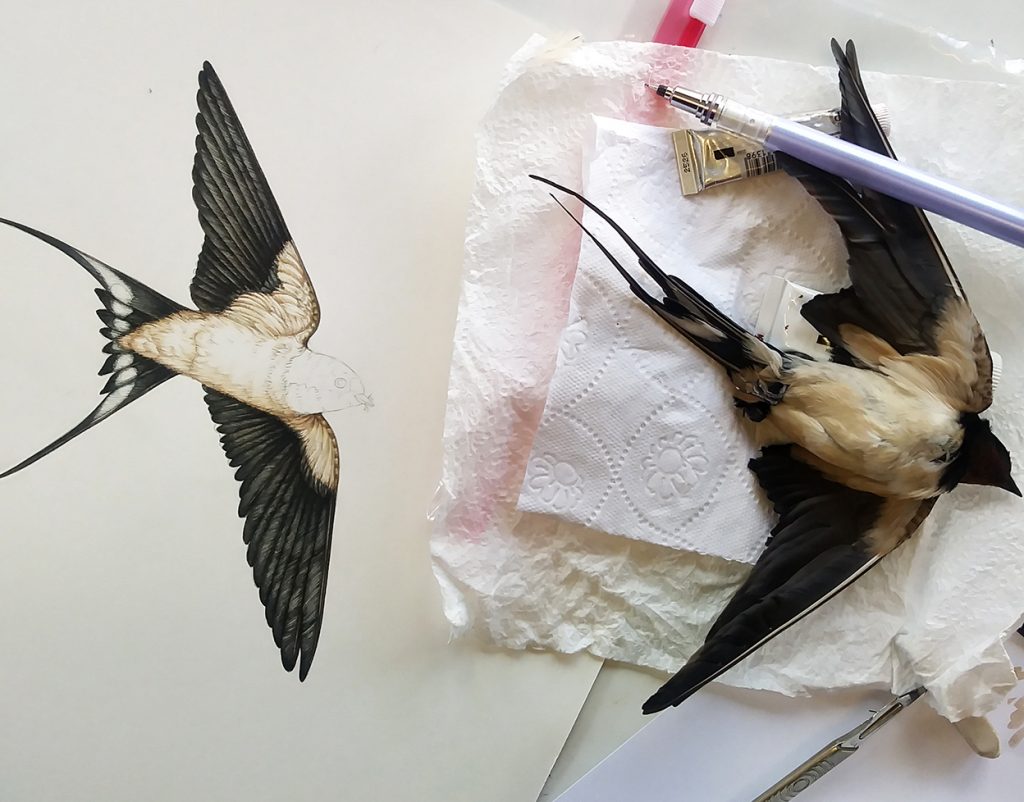
I start by looking closely at my specimen, I look at the directions of the detail on the feathers, and refer closely to the bird as I mix up a dark colour. This is a mix of Vandyke brown, Prussian blue, and lamp black. I tend to use Winsor and Newton pans. You aren’t supposed to, but when they run low I top them up from the tubes.
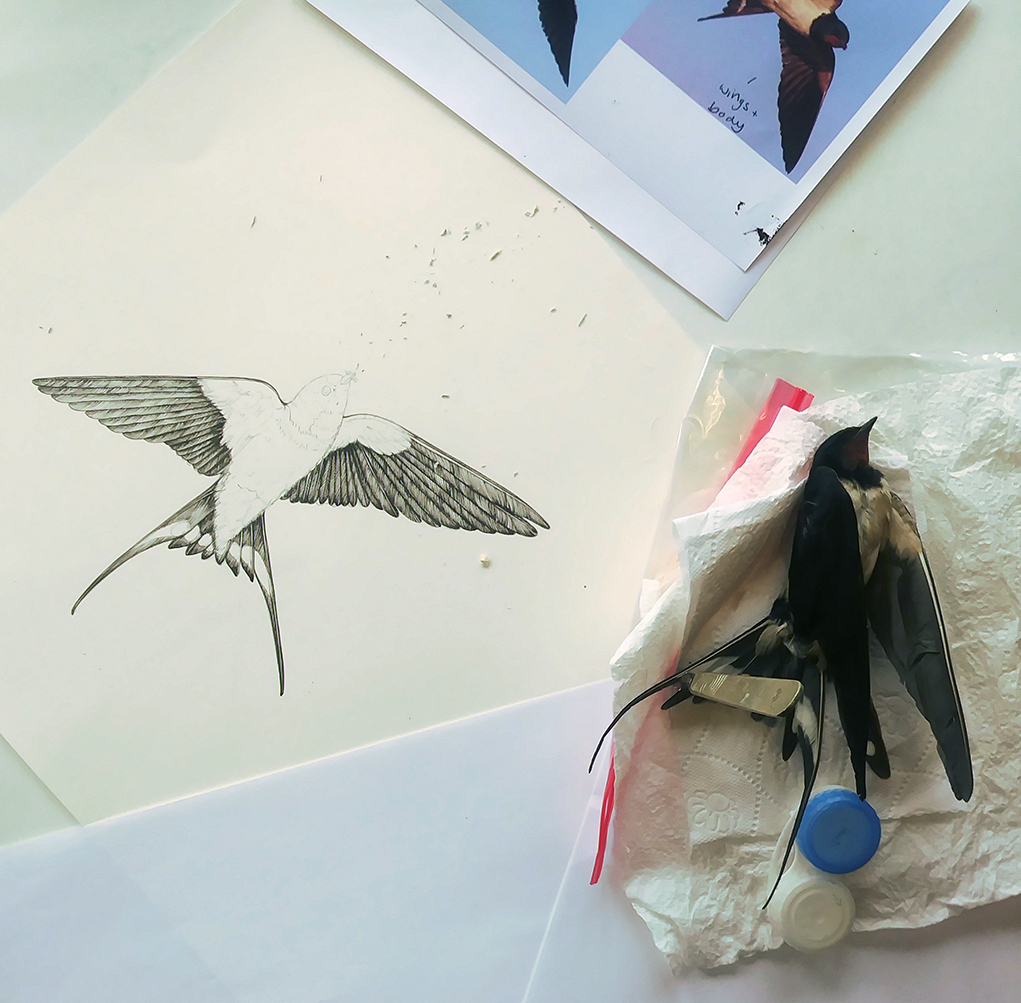
Barn swallow and painting in progress.
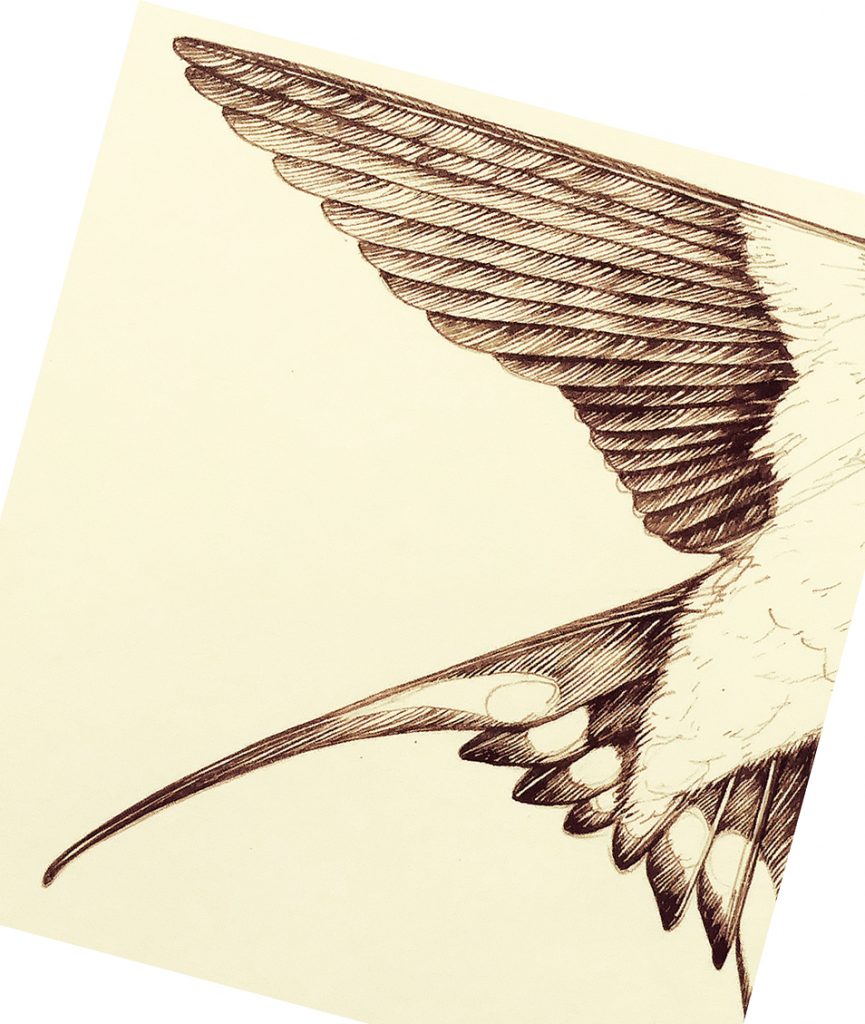
Here’s a detail (below) showing the parallel paint strokes. The white spots show the feathers’ white markings.
Working into the feathers is a matter of adding texture and body colour. I mix a dilute brown-black. This has more blue in than the first colour I mixed. I apply this over the feathers and let it dry. Once dry, I use a dark blue-black and work into the detail again. I focus on the feather edges.
The central veins of each flight feather is outlined with vandyke brown and a prussian blue.
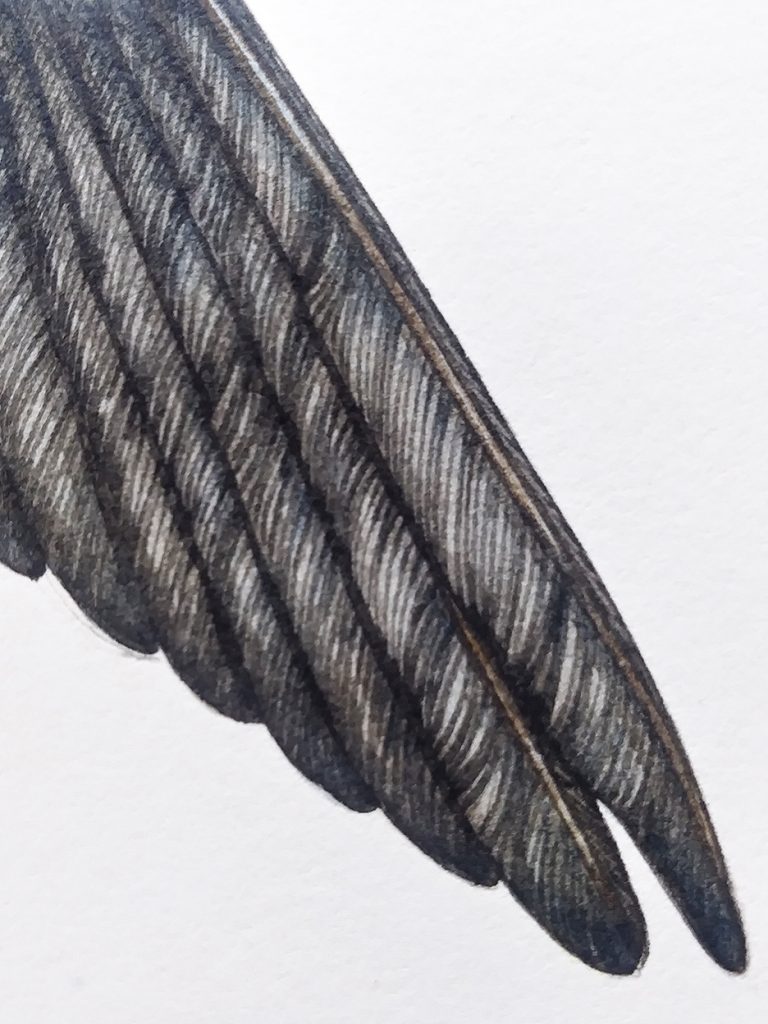
Detail of the Barn swallow feathers.
In the illustration below, you can see how these layers of dilute washes and detail have built up. The feathers have colour without losing all texture.
I’ve also added a little depth to the white markings. This involves a light touch, and a dilute mix of Cerelean blue and purple.
Step 2: Painting the body of the Barn swallow
The feathers on the swallow’s body are not white. They’re a buff cream colour. The trick with pale areas of feather is to only use the colour on the shades parts, and edges. A mix of yellow ochre, purple, and a touch of brown were used here. I applied the paint with tiny brush marks, quite dilute.
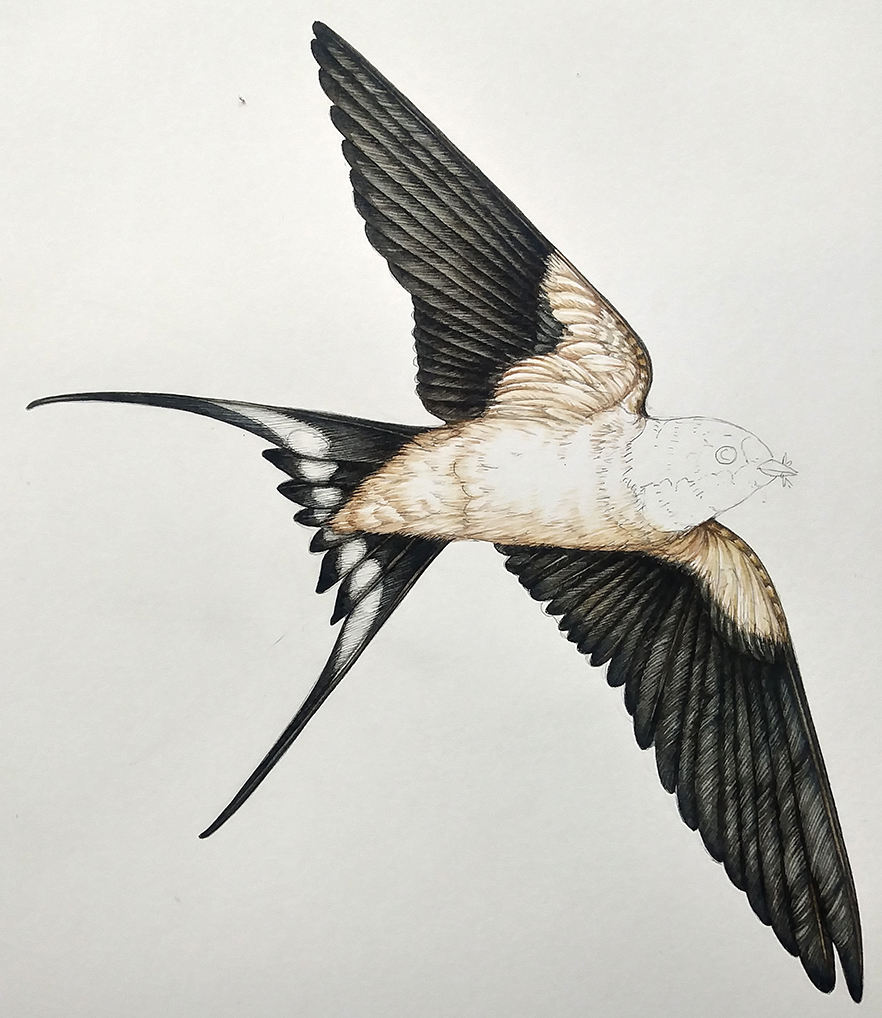
Body painted in.
Having the specimen to work from is invaluable. You can see the way the shadows fall on the feathers, and re-arrange the,m to perfectly match the drawing. I would have had trouble figuring out the white areas under the wings had I not had my swallow from the freezer on hand.
In this detail you can see how I used two or three shades of ochre to build up some depth. The graphite pencil marks are still visible.

Detail of the body feathers.
Comparing the specimen to the painting shows that I have made the body paler than it is in real life. This is a conscious decision. If you make pale areas too yellow or grey, you sometimes end up with a bird that lookd grubby. Keeping a light touch helps counter this effect.
Step 3: Painting the head of the barn swallow
The reds and blue-blacks on the head of the barn swallow are very distinctive. They’re also quite tricky to mix a good colour match for. Although I think of the throat patch as red, in fact it’s a brick-brown. I mix this with cadmium orange, vandyke brown, a touch of purple, and a little blue.
The colours also change dramatically depending on the light. You need to decide on one main colour and work around this.

Head of the barn swallow specimen.
I build up the texture with lots of tiny brush strokes. Towards the centre of each area I leave a paler region. Once the underlying texture of the feathers is plotted in, I pop a top wash of a more dilute colour on these places. This helps provide a feeling of depth.
With the red of the throat, these highlights can be made rather yellow. With the dark blue crown, I chose a pale blue.
Head of the swallow detail.
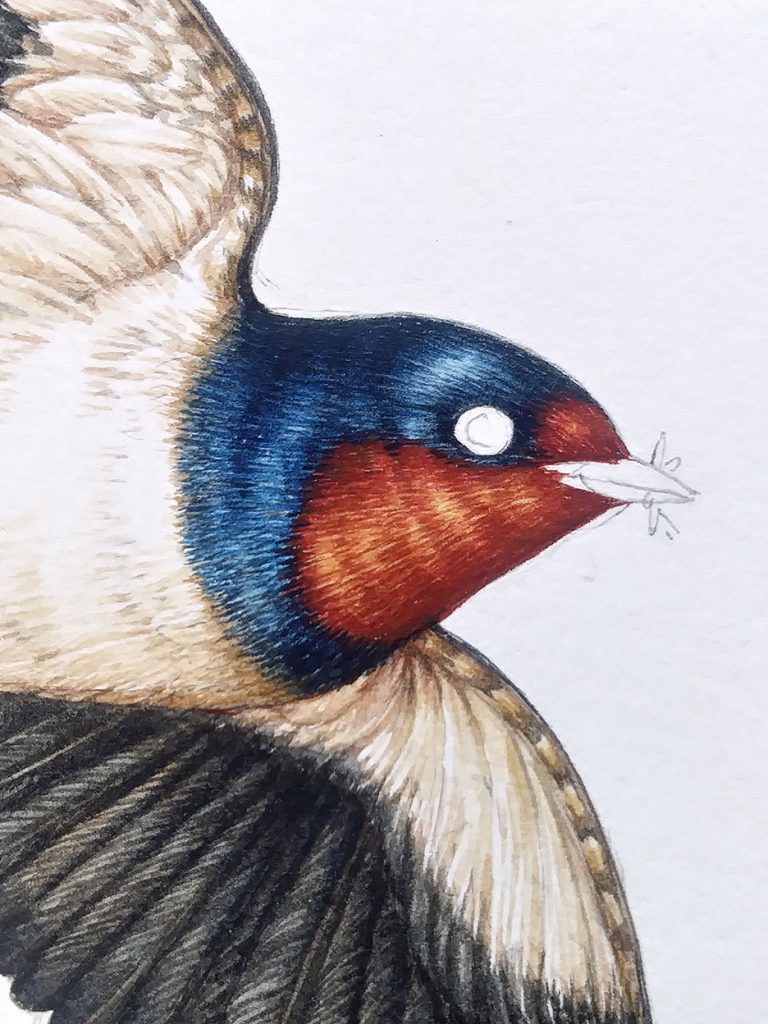
Step 4: Eyes, beak, and details
I always paint the beak and eyes last. I know other illustrators who start with these details. They maintain (and they’re probably right) that is the eye is wrong the illustration is no good. I just feel a bit odd being stared at by my illustration as i try to bring it to life.
The drawback of working this way is that it puts a good deal of pressure on you to get the beak and eye correct!
The crucial part with the eye is to get the highlight right. I’ll sometimes revisit this with a touch to white goauche.
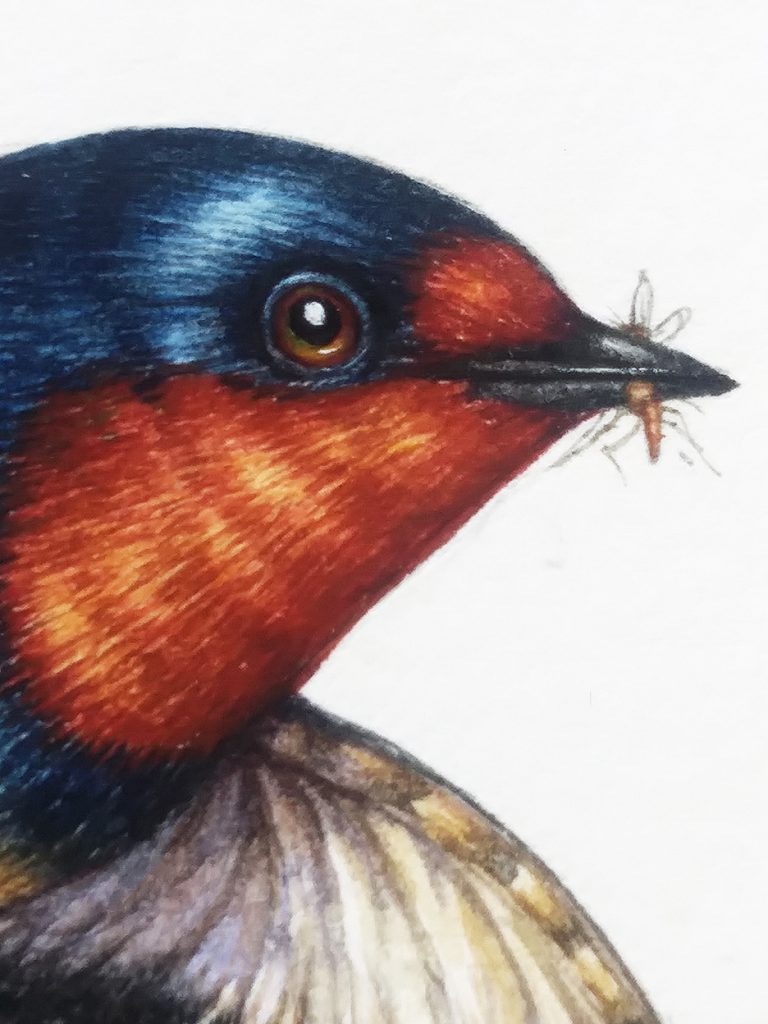
I chose to put a fly in the swallow’s beak, these amazing birds are voracious predators of tiny gnats and summer-flying insects.
And here is the finished illustration.
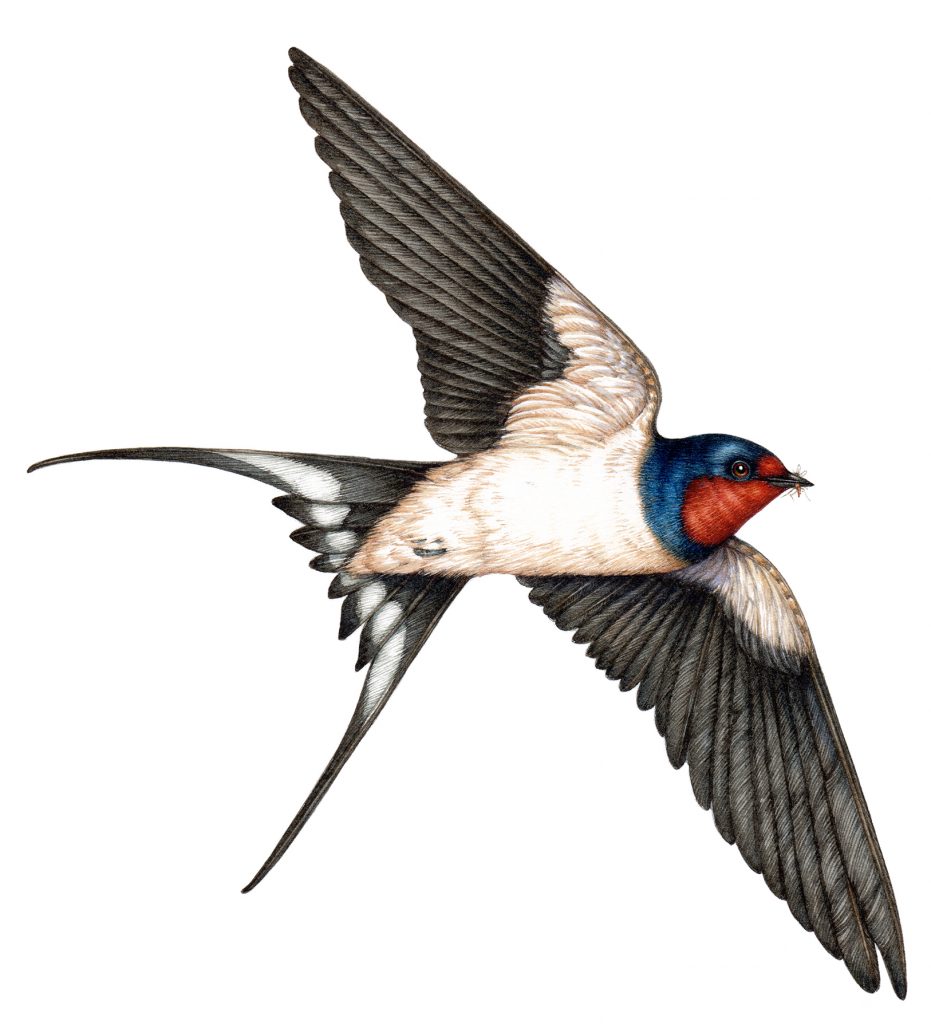
Finished illustration of the barn swallow.
Some final thoughts
I find it strange, when I illustrate an animal like a swallow. There’s this gorgeous, fragile specimen sitting on my desk. It seems absurd, as you examine the detail of the feathers and the intensity of its colours, to even try and replicate this beauty on paper.
I’m also acutely aware that this tiny creature, smaller than my hand, has probably migrated from rural Wales to south Africa and back. It seems so implausible, and so utterly extraordinary. What chance of fate caused the hapless bird to die here, in Hay on Wye? What other perils has it survived?
I feel incredibly privileged to work with these specimens. They make it much easier to illustrate an animal, but I also find them very moving.
Below is the finished illustration of the other pencil rough, seen from above rather than from below.
For other step by step animal illustration blogs, including birds, please check out my blogs.
The post Step by Step Barn Swallow appeared first on Lizzie Harper.