I’ve been working on an animation about Zika Virus Disease and I thought I’d show you the process. It’s a slightly different process than how I normally animate so I have a lot of background pieces I can share this time.
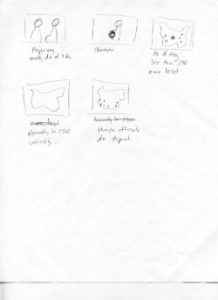
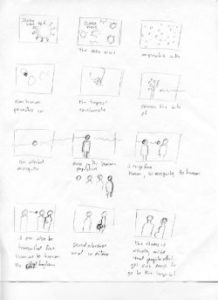
The first two images are the concept sketches/storyboards in pencil. This is the stage where I am working out the general idea of the piece and getting the flow of the story right. It doesn’t always happen but my final animation is pretty close to the original pencils in this case.
Next is the color palette (I have been an artist for 30 years, you’d think I would be able to spell palette without the aid of spellchecker by now) and artwork in Adobe Illustrator. The first thing I set up are the color swatches. In the swatches, at the bottom left of the image below, the first thing I work out are the colors in the center horizontal row. This is my main color idea. Then I do tints and shades above and below to create the palette. The fonts are Roboto and Roboto Slab, two of my current favorites right now. I’m also pretty into Raleway right now but it really didn’t work for this piece.
For the continents I found a free vector line drawing of a world map and then used a script to fill each area with circles. It still took a while to get it just right but it was much faster than drawing and placing hundreds of circles. Click here for a link to the script if you want to try it out.
If you’re not familiar with illustration software, a vector line drawing is a mathematical line drawing that can be infinitely scaled up or down without loosing line quality and a script is a subprogram that you can insert into a program like Adobe Illustrator to run a specific set of commands.
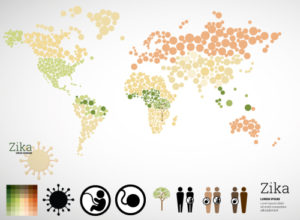
The next step was to rebuild the storyboards to size in Adobe Illustrator using the art and color palette from the previous step. This is where I changed my workflow a bit.
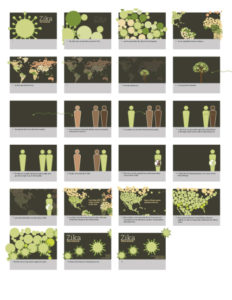
Typically at this stage I will scan the pencil storyboards as separate images and create an animatic/animated storyboard in After Effects. An animated storyboard is just a rough animation with still images so the voiceover, music, sound effects, and timing can be tested. Then I will build a master art file (okay, if you are not an artist and definitely not an animator I’m sure your eyes glazed over just a second ago and you started to think about that meme you saw on Facebook this morning – sorry about that, but hang with me a few more sentences) full size and import that into After Effects and start animating on top of the stills. For this piece I did full size color storyboards in Illustrator. They are all in one document but are on different full-size art boards so they can then be exported separately and used in After Effects to create a full color animatic.
Ah, see, I skipped a step just for you non animators. Here is the animatic created from the storyboards.
The step I skipped is the style boards. I typically don’t do style boards but this time I was going for specific look and needed to be sure it was doable before going on. These are three of the storyboards taken into Adobe Photoshop and made to look like cut paper with drop shadows. I was really happy with the look.
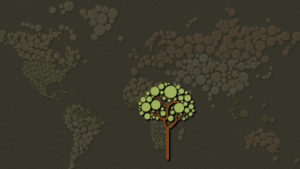
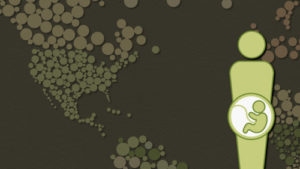
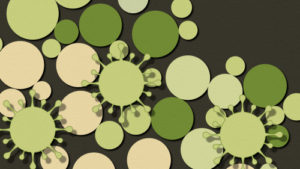
In fact, I was so happy with the look that I wanted to share it with the world! Actually it did take some time to work out how to do it so I made a tutorial to save fellow artist the headaches of arguing with layer masks in Photoshop.
I also had a small argument with sharing a color palette between Adobe Illustrator and Adobe Photoshop…so I made another tutorial (’cause I was feeling all warm, fuzzy, and altruistic at the time).
Well, after getting through all of that I was finally able to start on the final animation. Here is the first run through of the animation. Really, it is completely ready to be used as is but it’s still a bit flat and doesn’t have the paper texture or shadows yet. I wanted to make sure the animation worked before doing the final texturing and lighting.
So, a few of hours later (mostly because I really needed to get away from the computer and go for a bike ride) the final animation is complete. I’m quite pleased with the outcome!

