
Illustrating butterflies is wonderful, but has its challenges. I recently taught a two day workshop to Northamptonshire Botanical Artists’ Society which focused exclusively on painting these gorgeous insects.
Introduction to Butterflies
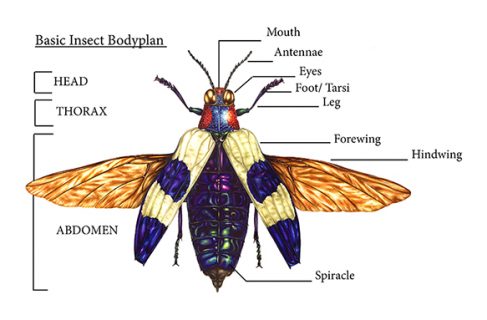
We began with handouts and an introduction to the variety of insect life. Touching on complete and incomplete life cycles, we also learnt their anatomy. For information about insect anatomy, check out my earlier blog. Discussion on how to go about illustrating butterflies followed – cut to white on a page, or with their host plant, or perhaps a flower they frequently visit?
Sketching Butterflies
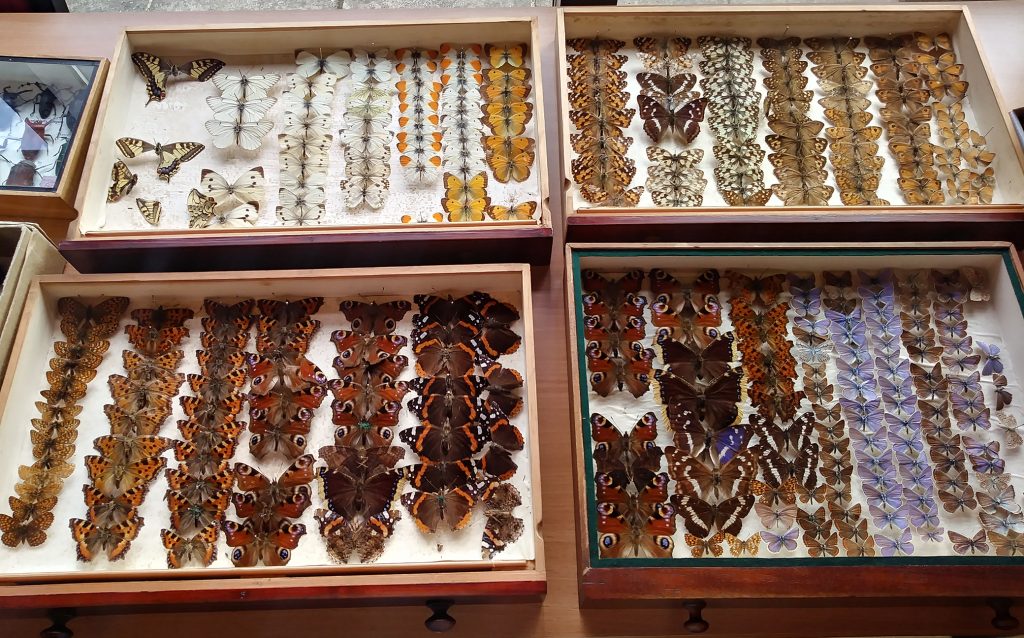
I’m fortunate enough to have a large collection of old Victorian lepidopteran specimens (thanks to my lovely costume-designing friend Wendy). The students took these to their desks for study drawings.
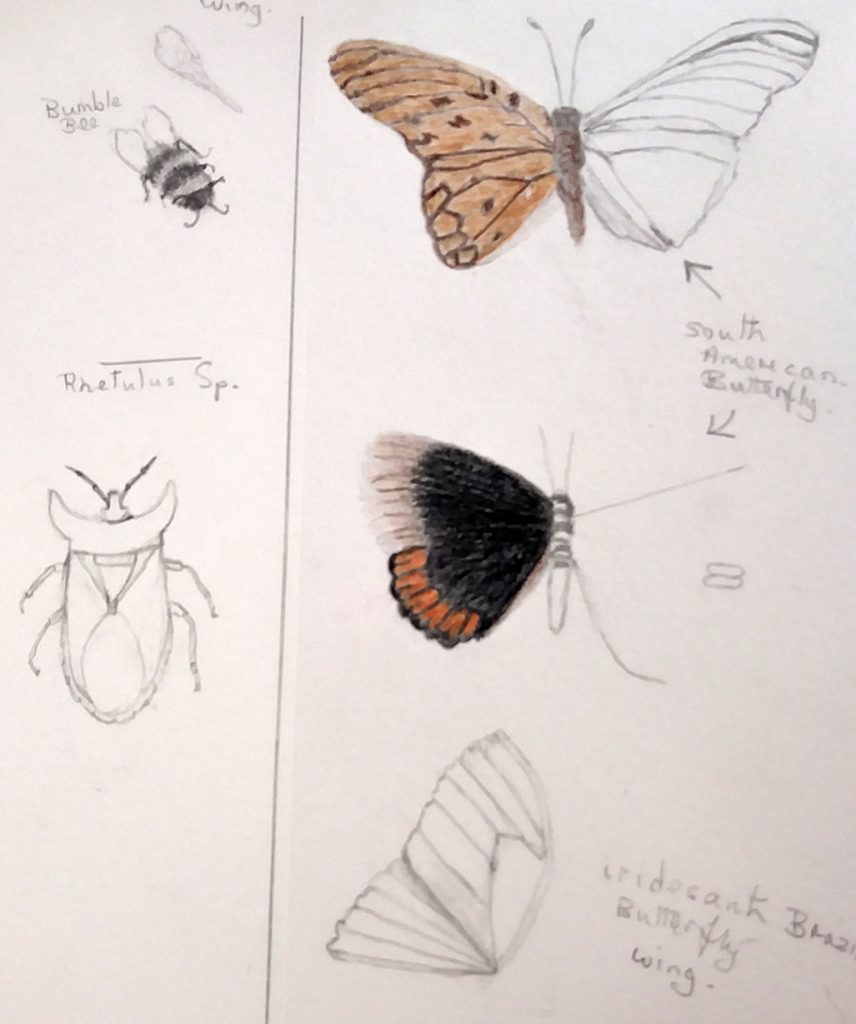
Symmetry is so helpful when illustrating butterflies, and I showed a few cunning tricks that allow you to flip a drawing. It means you only have to draw half a butterfly! Push through paper, burnishing, and tracing were discussed. I also explained that with such detail, a good hot press watercolour paper and an excellent brush is essential. I currently love Stonehenge Aqua and Fluid 100 paper, both available from Jackson’s, I also am wedded to my Winsor and Newton series 7 brushes.
Colour maps
Once a butterfly has been drawn up, I often get terribly confused by which colours go where. I showed the class my technique of colour-mapping. Literally, you map the colours, first by coding areas of colour with letters or shading and later by laying down a very pale base layer of watercolour. This is invaluable in helping you sort out what colours go where. For more detail on this approach, have a look at my blog on illustrating a Death’s head hawkmoth.

Building colour when Illustrating Butterflies
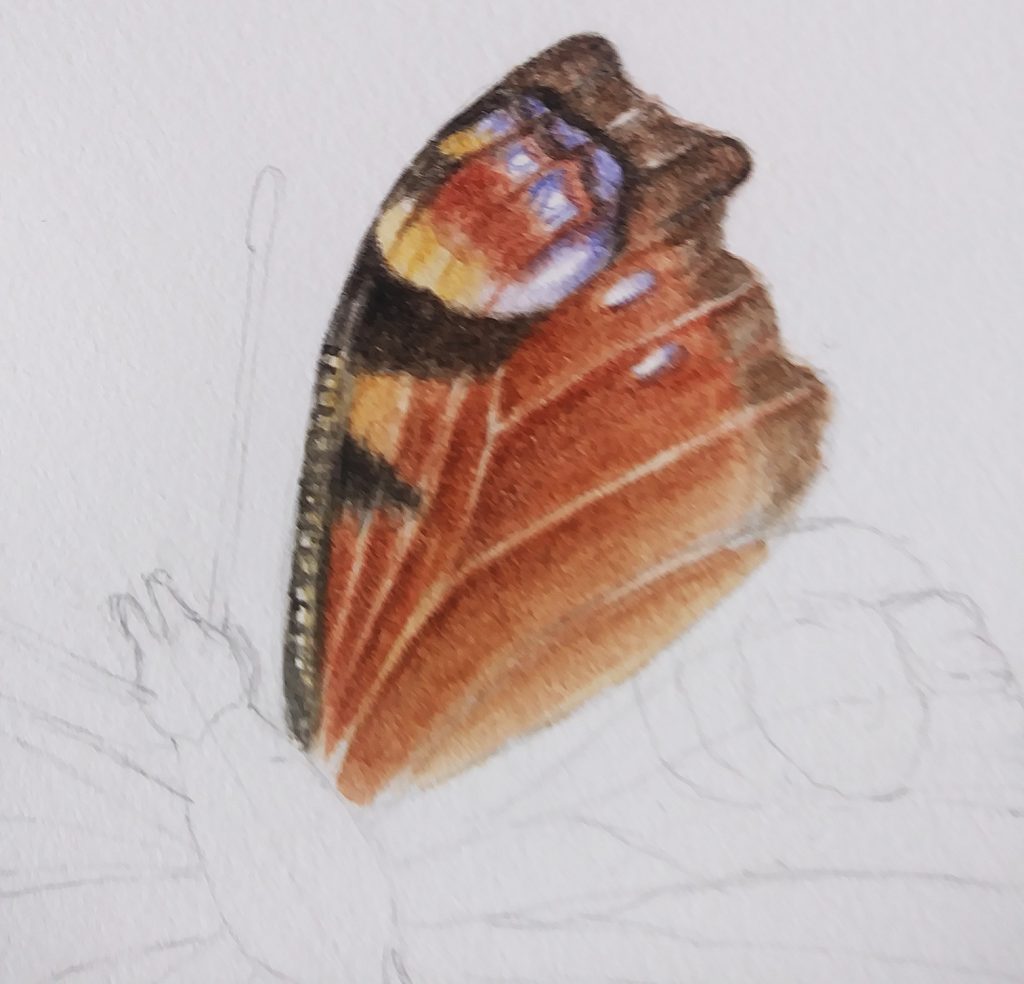
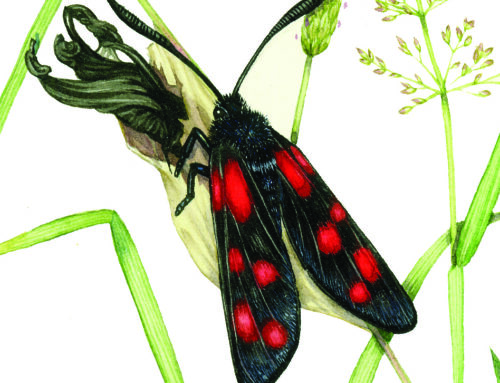
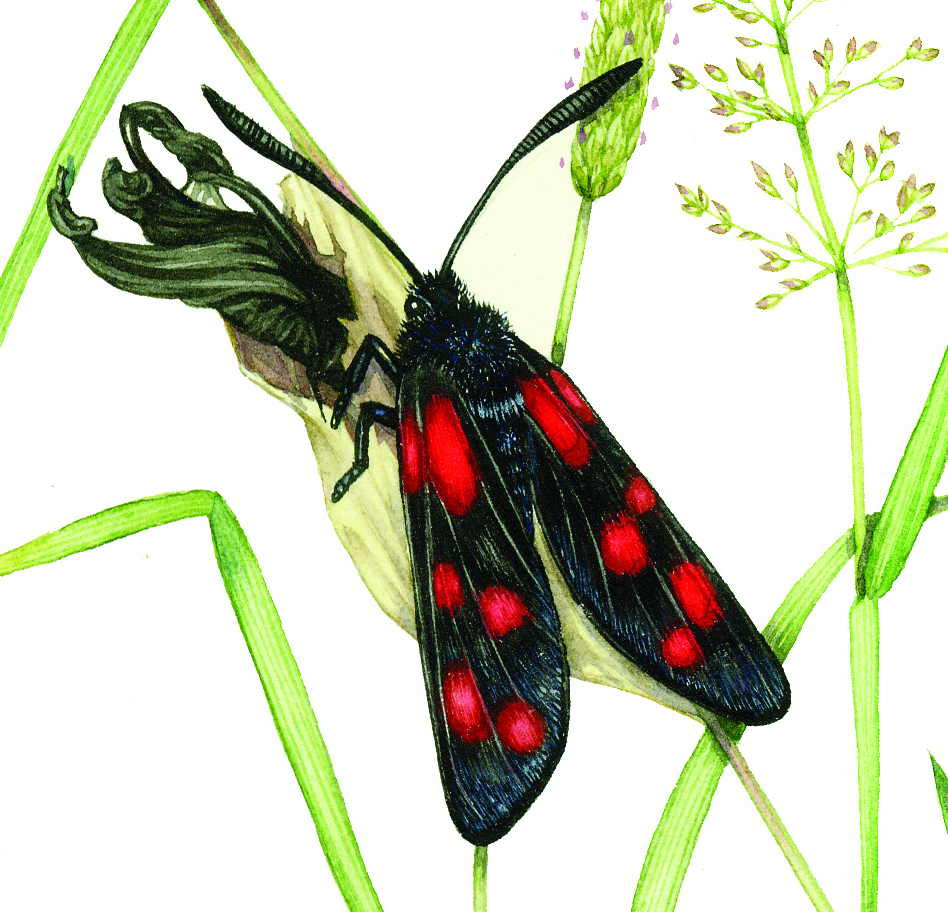
Another tutor demo showed how I use tons of tiny brush marks to build up the colour of their wings. These marks need to follow the shape of the wing below. We talked about wing structure, the importance of veins, and had the chance to examine butterfly wing scales under the dissecting microscope.
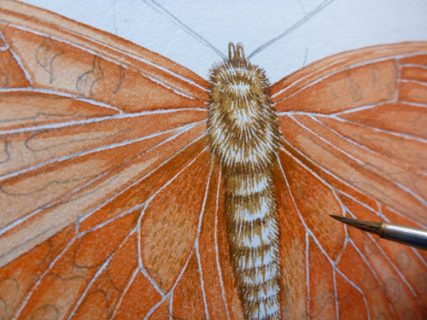
Once these marks are dry, a top colour wash helps add depth to the wings. I showed the class how vibrant Doctor Martin PH inks can be when diluted and mixed with a watercolour matrix.
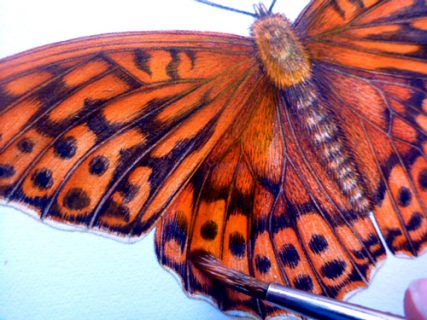
A detailed account of this layering of brush marks and washes can be found in my earlier blog.
Illustrating Butterflies: Student work
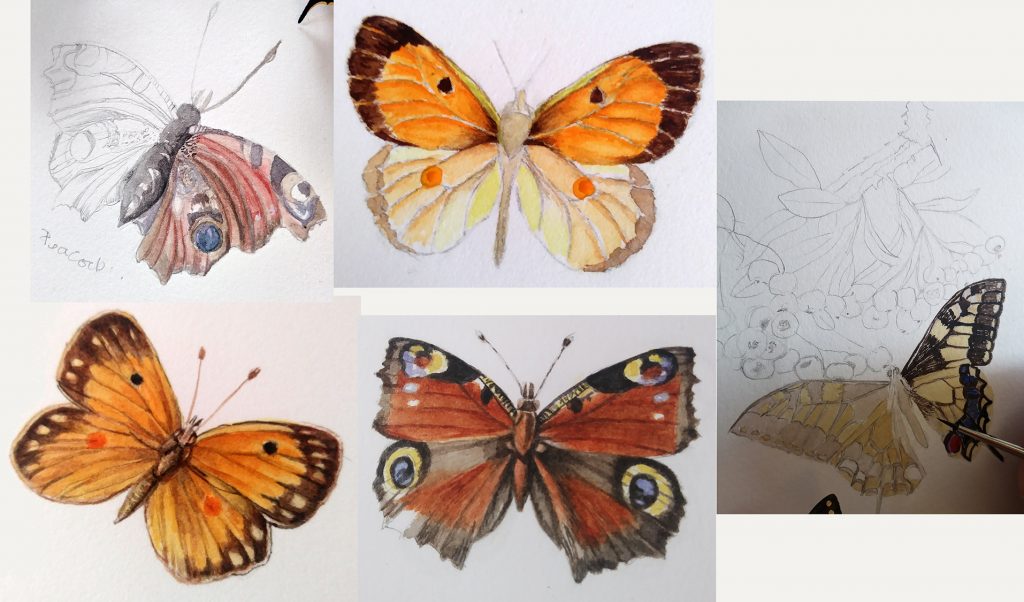
All the students worked incredibly hard for both days, and created some stunning work.
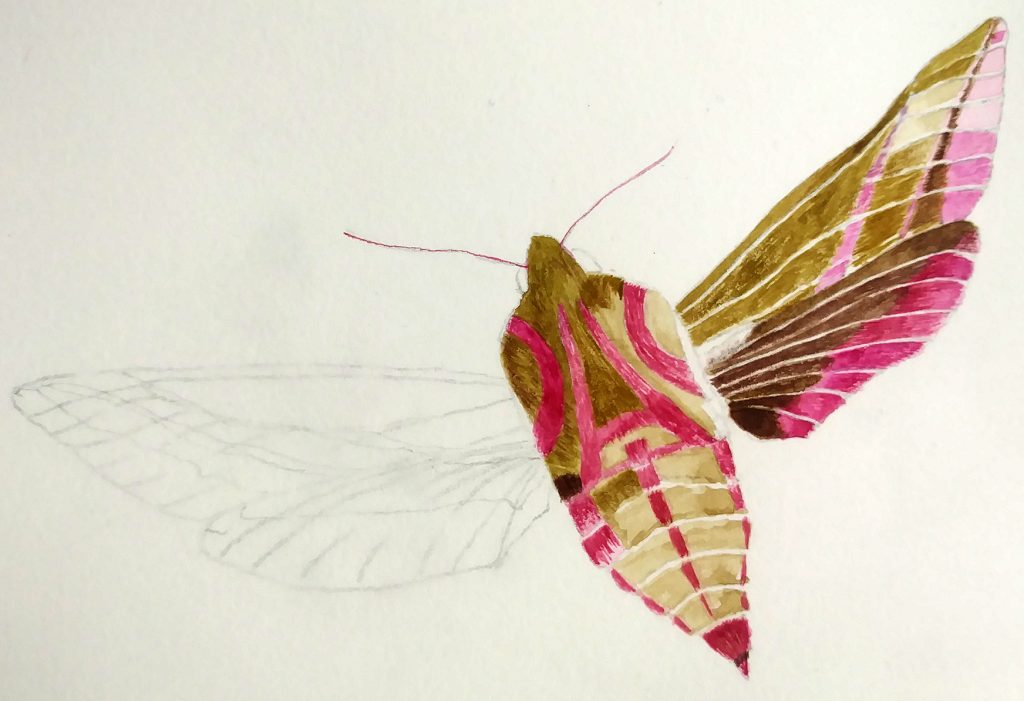
Some were firmly out of their comfort zone. One lady has a terror of dead butterflies, yet managed to do a lovely illustration of an Elephant hawk moth.
Another student had never worked with watercolours before, preferring coloured pencil.
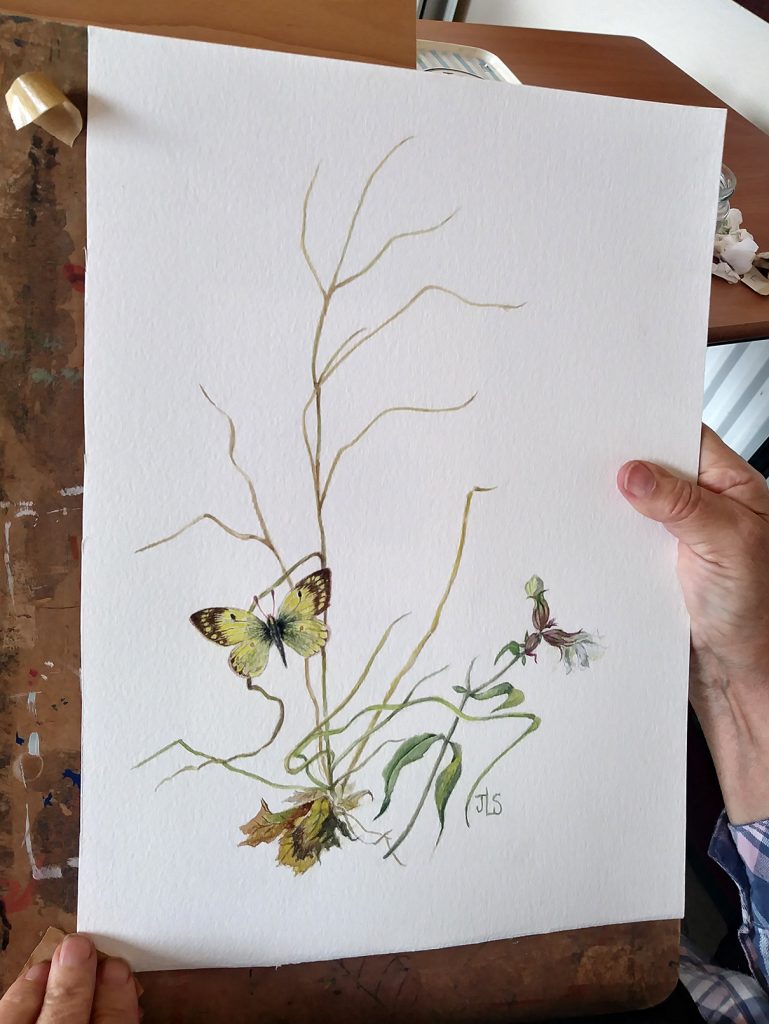
Some students worked really fast and completed illustrations featuring plants and butterflies.
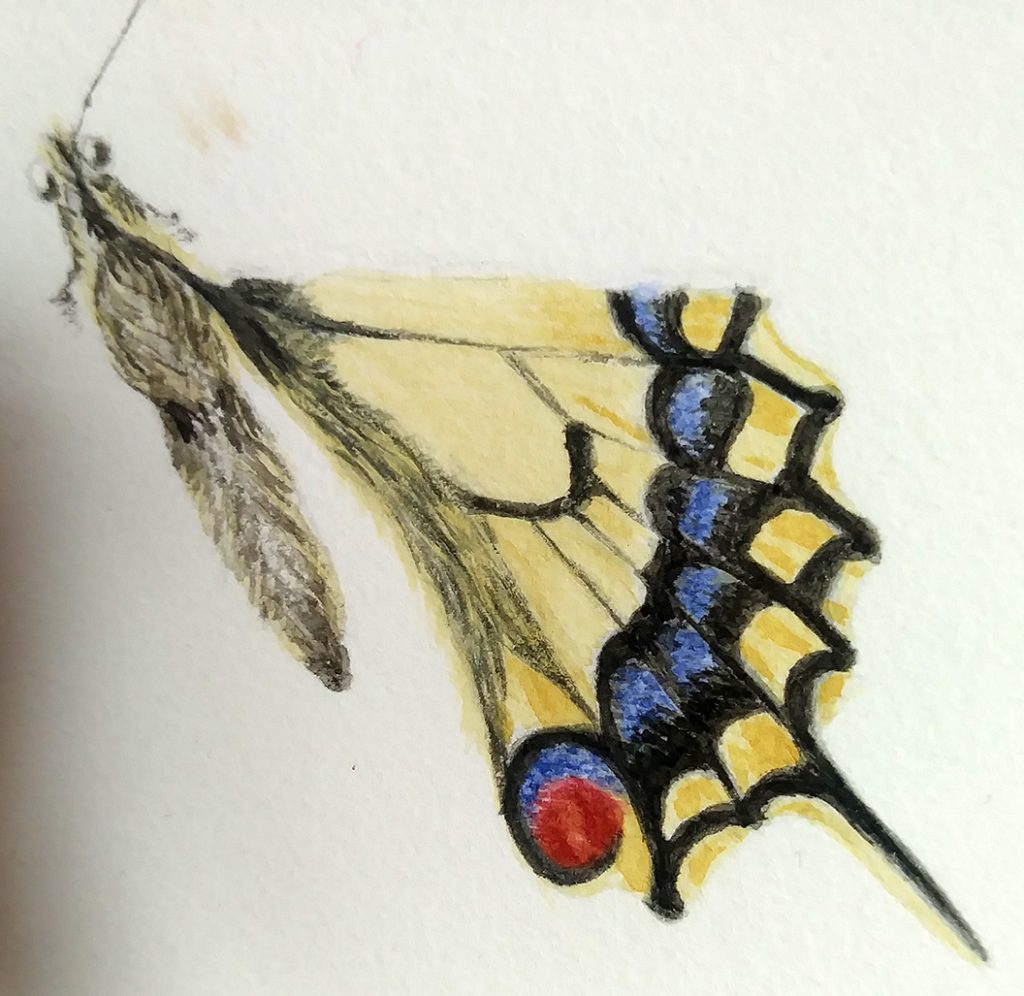
Others focused on the minutae of an individual wing.
Conclusion
I was blown away by their work ethic, positive attitude, and illustrations.
I’m taking on less teaching commitments as there’s more commissioned work around than ever before. To have such an enjoyable workshop was a treat, and a good way for me to learn new tips from my students, as well as being able to share some of my techniques for illustrating butterflies.
Below is a video which shows my technique for illustrating butterflies.
The post Illustrating Butterflies Workshop appeared first on Lizzie Harper.
