
An Introduction to Brassicaceae
Actually, before I start this blog I need to clarify the title, “Botanical Illustration of a Brassica leaf”. The leaf I’m discussing is that of a Yellow Mustard plant, Brassica juncea, a species of Brassica.
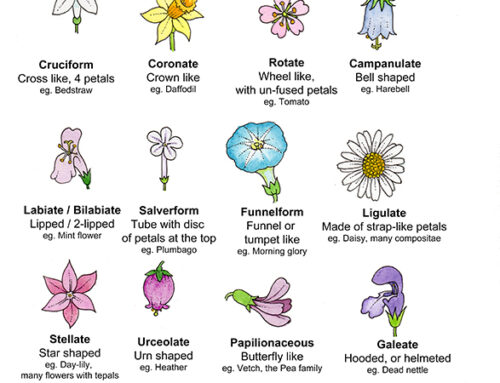
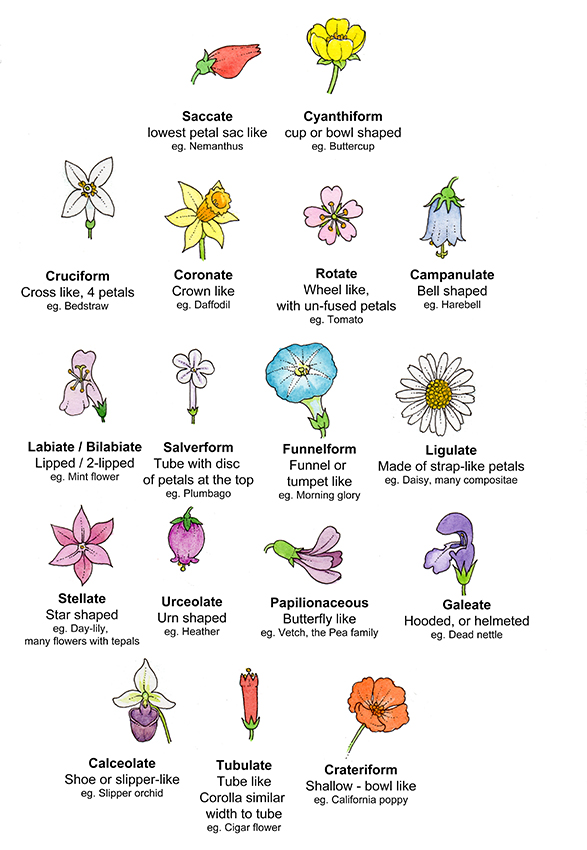
The colours of Brassica leaves are very similar across many members of the family. The Brassicaceae or Cabbage family is large and encompasses lots of our common crop plants; turnip, cabbages, broccoli, cauliflower, radish, oil-seed rape, kale, collards, brussels sprouts, mustards…. All Brassicas have distinctive four-petalled cruciferous flowers which have two long and two short stamens. Petals are often white or yellow. The seeds are borne in long pods called siliques. (For more on different types of fruit, check out my earlier blog).
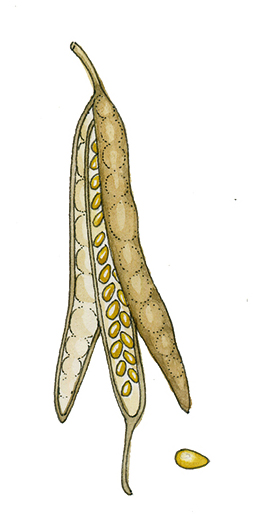
Diagram of a silique
Brassica Leaves
I’m working on a series of crop plants for a German client, and I found I kept using the same mixes of colour for the leaves. Turnips, oil-seed rape, radish, mustards… All are slightly different in their precise shade of green, but the glaucous, blueish and powdery look and feel to the leaves is distinctive.
So how do you approach this colour? First thing is to look very closely at the leaf, and spend time mixing your watercolour. I use Winsor and Newton pans, topped up from the tube when they run low. I begin with a cerulean blue. Add some Yellow ochre, the a tiny dash of Viridian. Some Cobalt blue is handy, and so is a dash of a purple. The finishing touch to this glaucous mix is a tiny dab of white ink (I use Doctor Martin’s). This helps to nail the paleness of the leaf, and makes it feel slightly powdery.
Choice of brush and paper is important too. I always use a number 1 size Winsor and Newton Series 7 sable brush, and my current favourite paper is Stonehenge Aqua (hot Press).
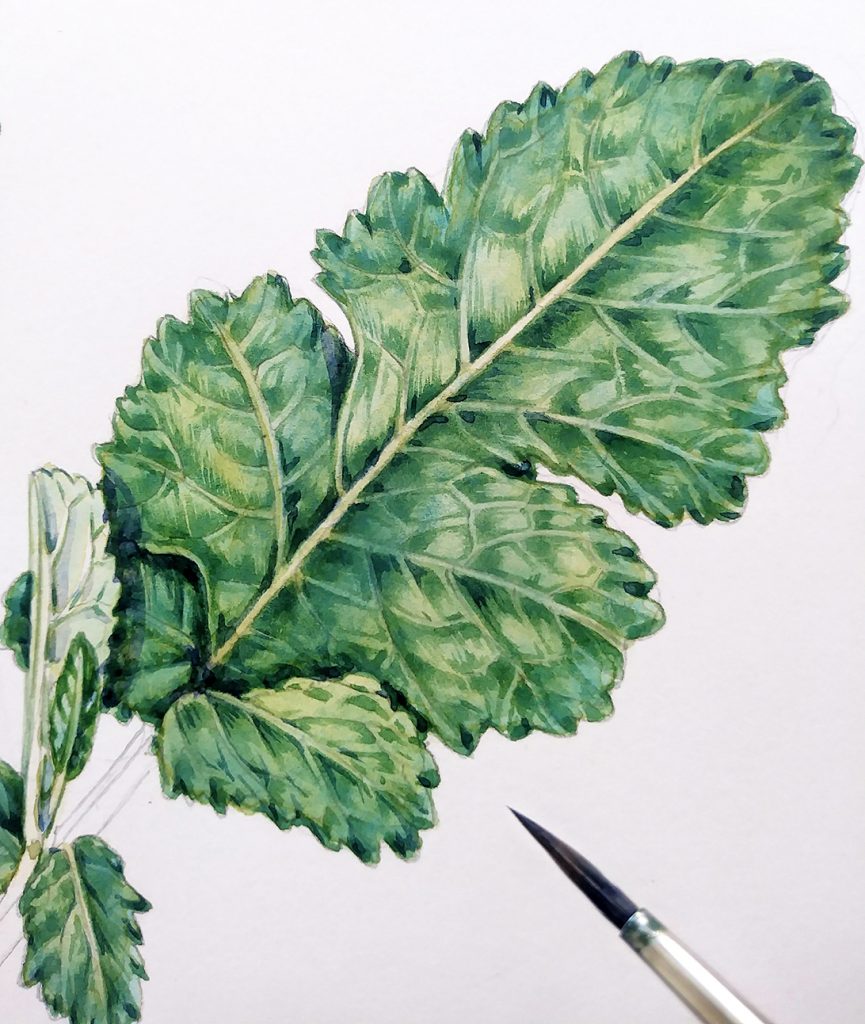
Brassica leaf
Technique
As always, I pick out my darks first with my initial colour mix, and then layer a slightly lighter green on top once it’s dry. This colour will have a bit more yellow ochre in, and be more dilute. Once this dries I apply a third wash over all the leaf (except on the veins which remain unpainted and white). This is more dilute, and has yet more yellow ochre in.
Once this is dry I put a very watery wash over the entire leaf (including the veins). This is mostly yellow ochre, with a touch of a blue-green. Apply it really wet and allow it to dry completely before the next step.
Next, and unusually for me, I added a second wet wash over the whole lot. This is where the Brassica leaf colours started to look realistic. I mixed cobalt blue and cerulean blue with a whole lot of water and applied it across the whole leaf, very wet. This made the entire leaf much bluer, and also has the added benefit of crisping up the edges of the leaves, where the paint pools and dries. I love the sharp edges you get with wet watercolour once it’s dried, and am trying to use them more and more in my illustrations.
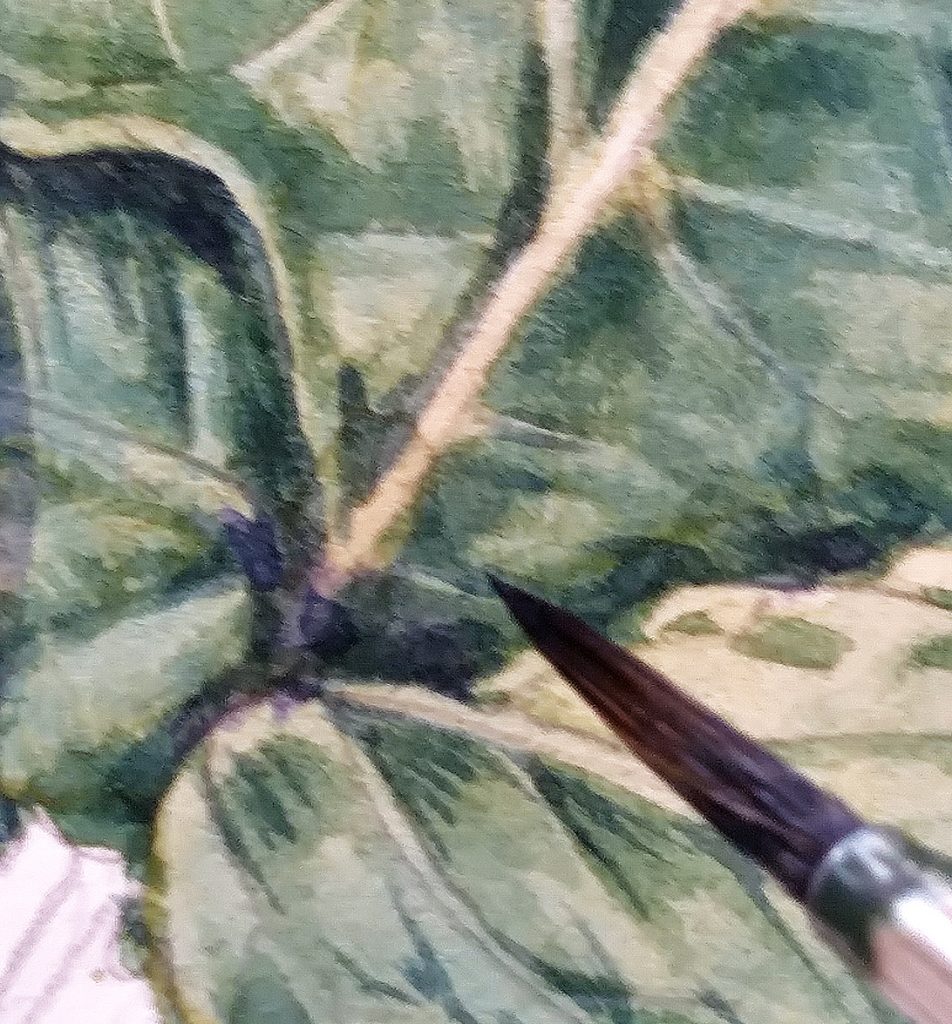
Painting a shadow
Shadows on Glaucous leaves
I often use purples for leaf shadows, and this works really well on the soft chalky blue-greens of a brassica leaf.
The somewhat blurry photo above shows me working into the darkest corners of a leaf with a watery mix of Cobalt blue and purple. I picked out the edges of the veins with yellow ochre plus a touch of purple (a slightly brown grey, in effect).
I repeated this across the plant until the leaves were all completed. In the picture below you can see how the yellow and blue washes have added large zones of colour and depth to the leaves.
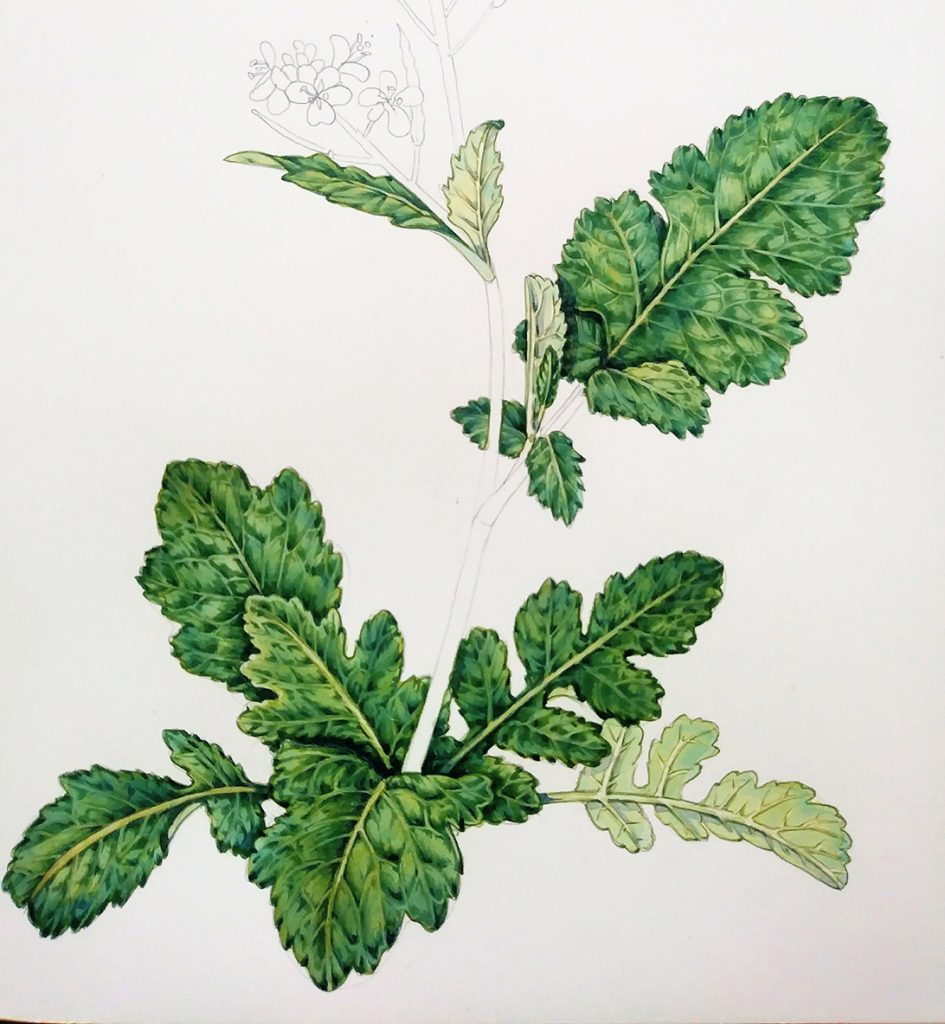
Yellow mustard plant with leaves completed
Stems and the silique
Stems are easy. Mix a pale green that reflects the colour of the plant you’re illustrating. Paint a thick line down one side of the stem (for me this tends to be the right hand side as I favour a light source coming from the top left), and a thin one down the other. Let them dry, then dilute your pale green and pop this top wash over the stem. Done. You may want to add shadows later, you may not need to.
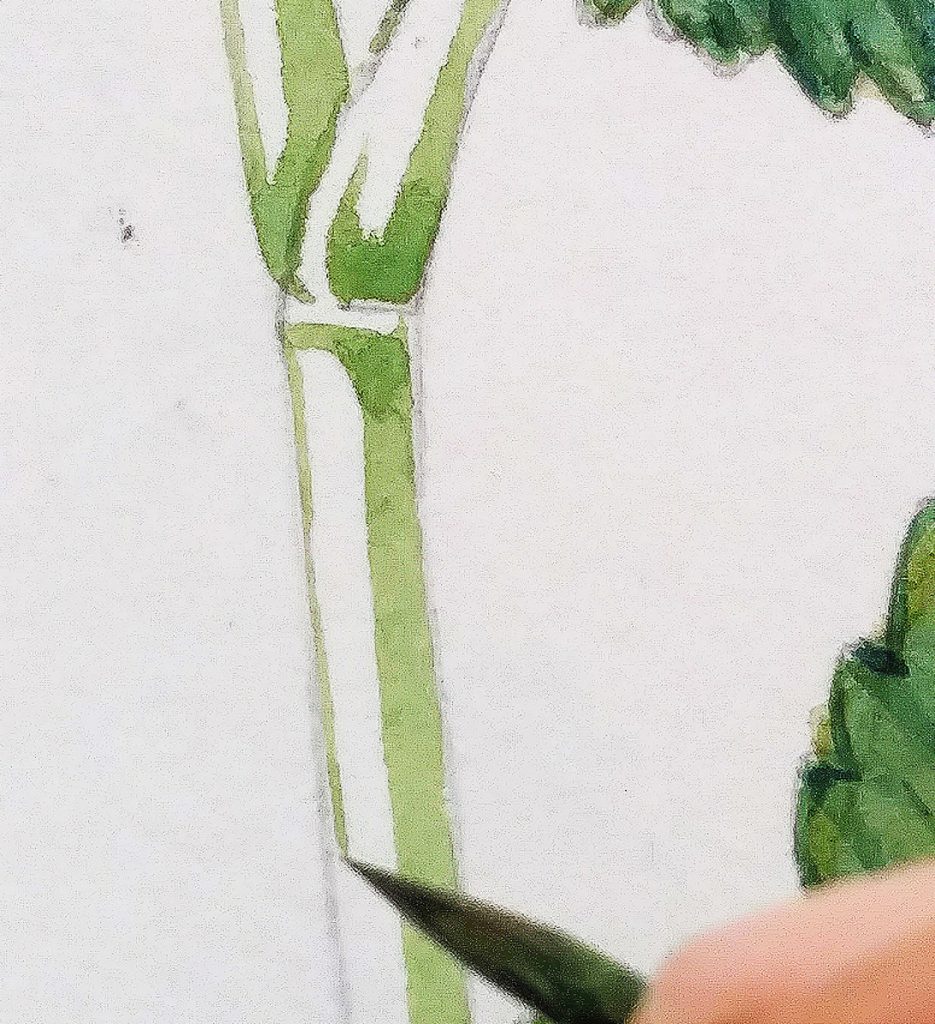
Detailed close up of a stem being outlined
Approach the silique in a similar manner, but with a pale mix of yellow ochre and Van dyke brown (or whatever colours best capture the plant in front of you). A wet top wash gives it colour and bulk.
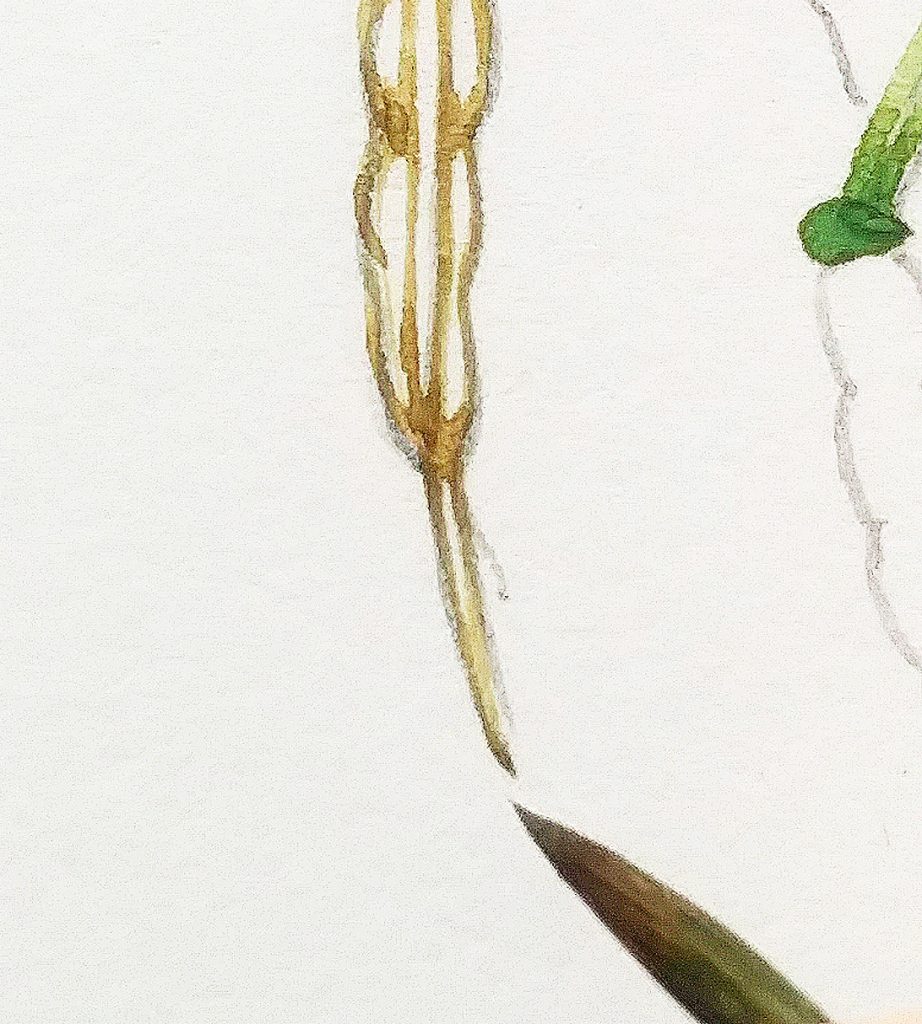
Painting the tip of the silique fruiting capsule or pod
Painting the flowers
Once the stems, brassica leaves and siliques are done, you can treat yourself by doing the pretty yellow flowers.
Mixing this colour is very straight-forward. Cadmium yellow light plus some of that Dr Martin’s Hydrus white watercolour. Perhaps a tiny dab og green.
Pick out the darks, let them dry, then apply a dilute top wash.
Stamens and shadows come next.
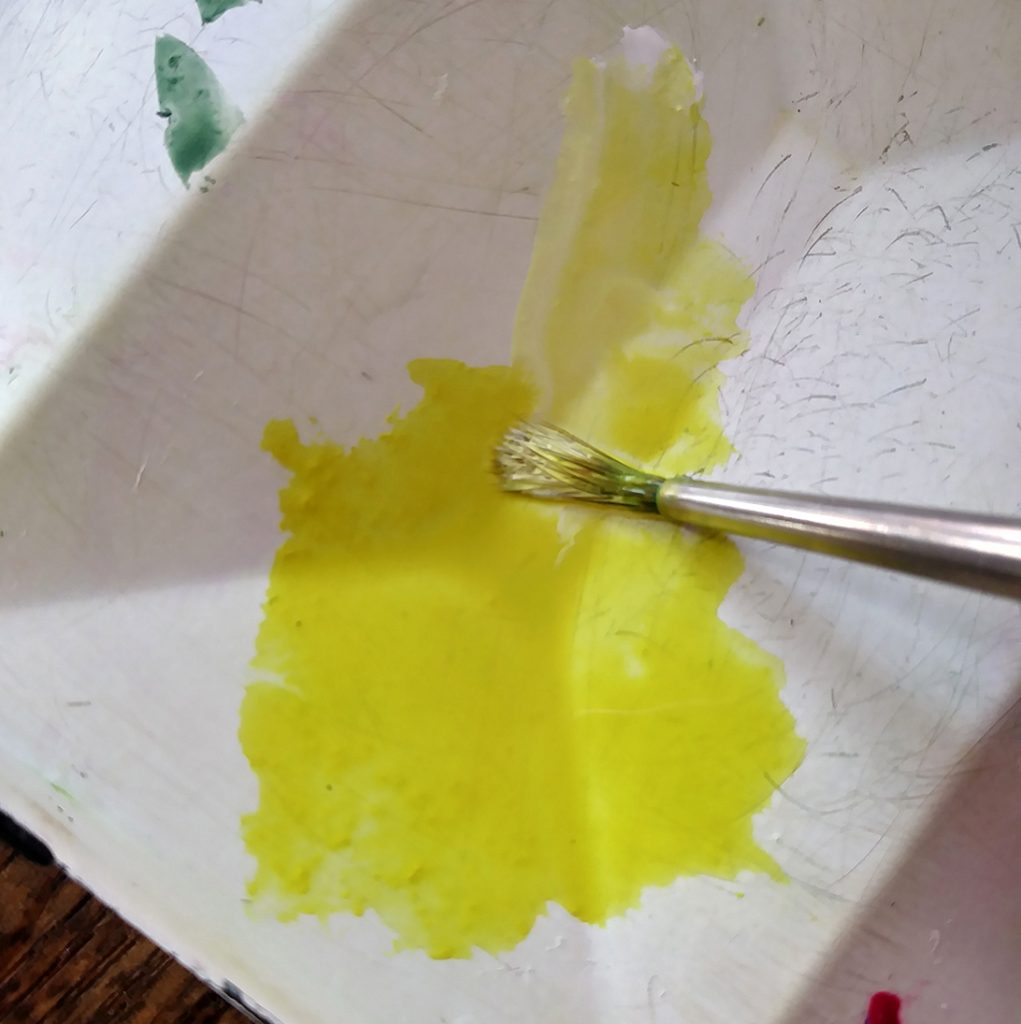
Mixing white ink into Cadmium yellow light
Finishing Touches
Finally, I re-visit the whole of the plant with my trusty purple-blue shadow mix. I use a more neutral shade for the yellow flowers (see my blog for more on Mixing neutral tints). Make sure the plant balances, and that the shadows make sense. Then that’s it, finished!
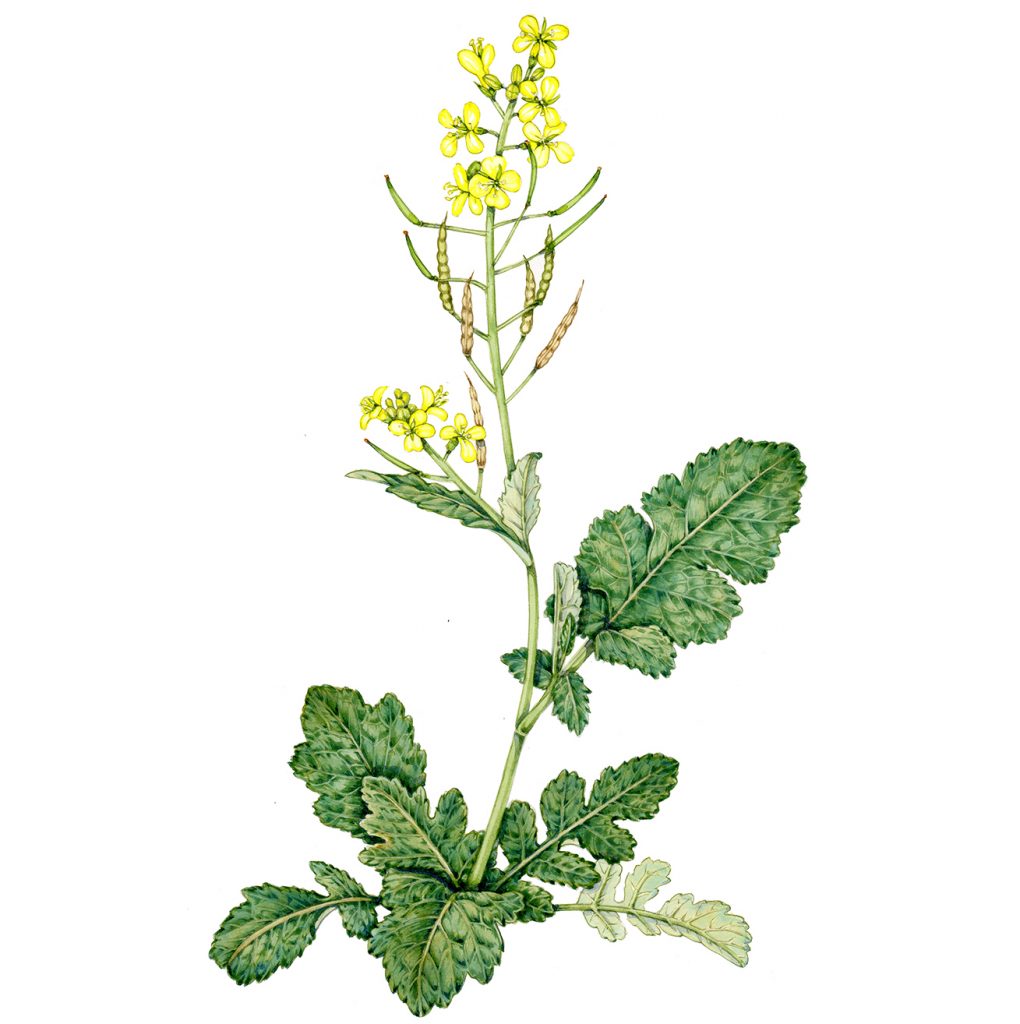
Completed botanical illustration of the Yellow Mustard Brassica juncea complete with blue-ish leaves.
The post Botanical Illustration of a Brassica Leaf appeared first on Lizzie Harper.
